> ## Documentation Index
> Fetch the complete documentation index at: https://docs.vaanivoice.ai/llms.txt
> Use this file to discover all available pages before exploring further.
# Create an Account
> Sign up for Vaani, set up your workspace, and get oriented in the dashboard
Your Vaani account is the hub for everything — agents, phone numbers, API keys, and call history. This page walks you through creating your account and understanding what you'll see when you first log in.
## Sign Up
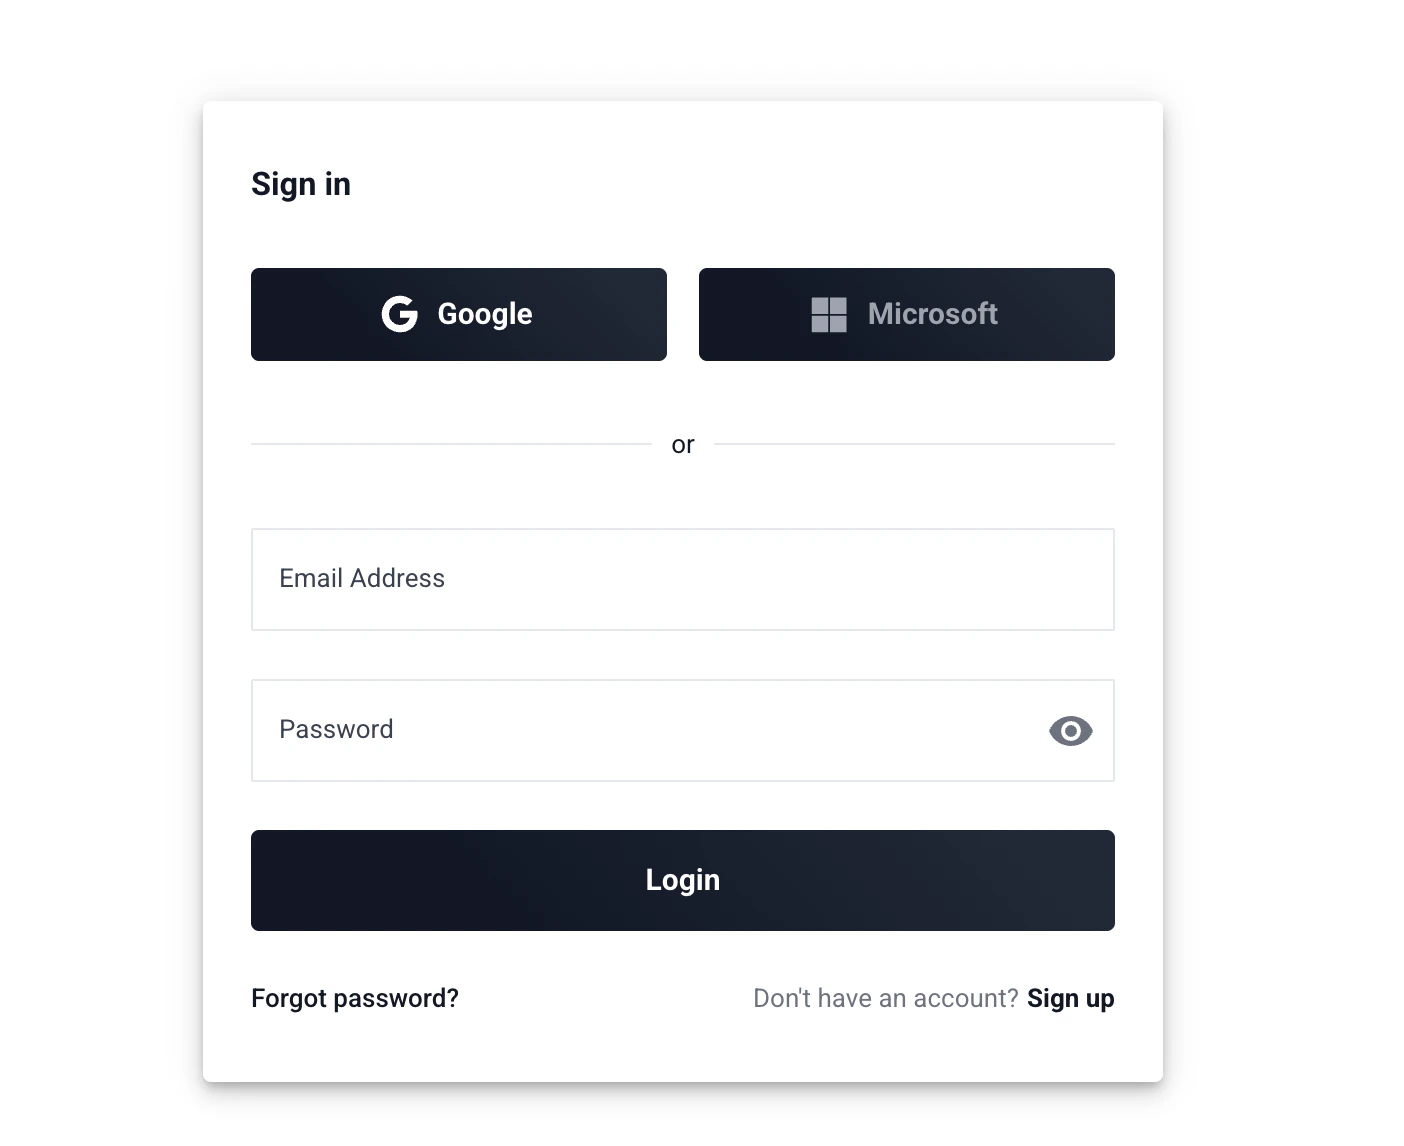
Open [app.vaanivoice.ai](https://app.vaanivoice.ai) and click **Sign Up**. You can register with your email address.
 Check your inbox for a verification email from Vaani. Click the confirmation link to activate your account.
Don't see the email? Check your spam or junk folder. If it still hasn't arrived after a few minutes, try signing up again or contact support.
After verifying, you'll be prompted to name your workspace. A **workspace** is your team's shared environment — all agents, API keys, phone numbers, and call data live here.
Pick a name that identifies your team or company (e.g. "Acme Sales" or "My Company"). You can change this later in Settings.
## Your Dashboard
Once you're logged in, you'll land on your dashboard. Here's what you'll find:
* **Agent Config** — where you'll create and manage your voice agents. This is your first stop after signing up.
* **Call History** — where completed calls, transcripts, and recordings appear. This will be empty until you make your first call.
* **Settings** — where you'll find Telephony setup (phone numbers) and API key management.
Check your inbox for a verification email from Vaani. Click the confirmation link to activate your account.
Don't see the email? Check your spam or junk folder. If it still hasn't arrived after a few minutes, try signing up again or contact support.
After verifying, you'll be prompted to name your workspace. A **workspace** is your team's shared environment — all agents, API keys, phone numbers, and call data live here.
Pick a name that identifies your team or company (e.g. "Acme Sales" or "My Company"). You can change this later in Settings.
## Your Dashboard
Once you're logged in, you'll land on your dashboard. Here's what you'll find:
* **Agent Config** — where you'll create and manage your voice agents. This is your first stop after signing up.
* **Call History** — where completed calls, transcripts, and recordings appear. This will be empty until you make your first call.
* **Settings** — where you'll find Telephony setup (phone numbers) and API key management.
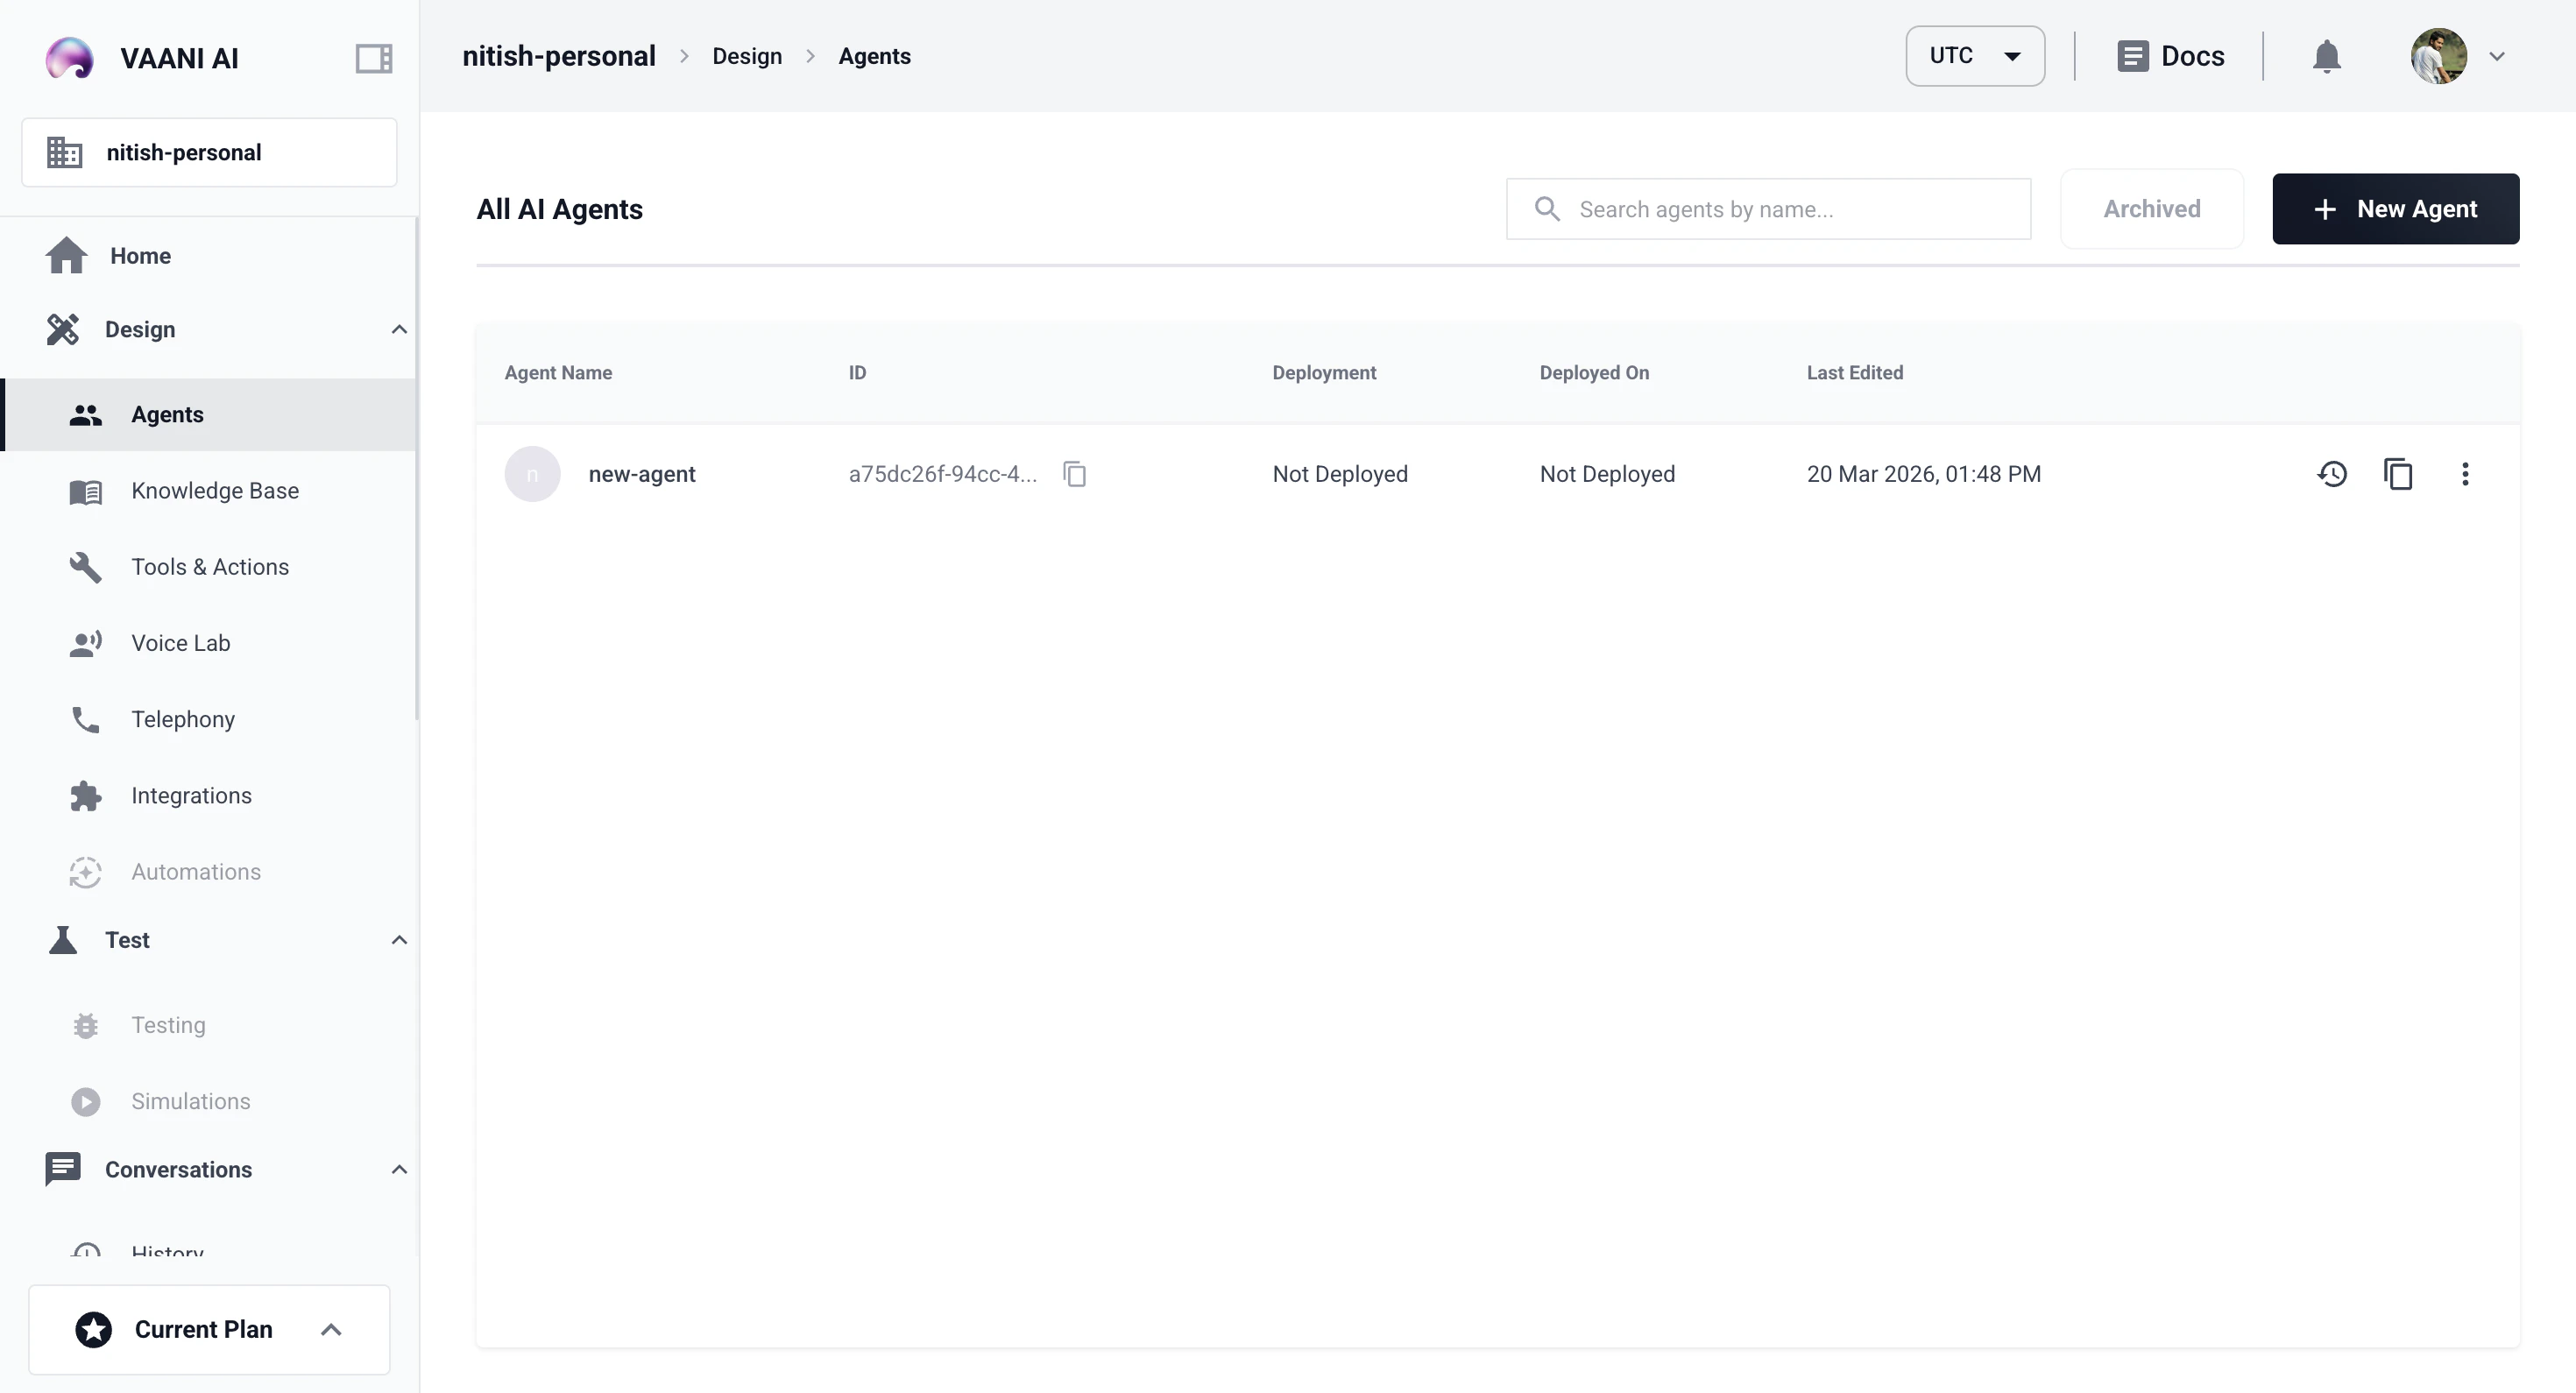 Your dashboard will be empty right now — that's expected. You'll start seeing data after you create an agent and make your first call.
If you're working with a team, you can invite members to your workspace later from **Settings**. All team members share the same agents and call data.
## Troubleshooting
Check your spam or junk folder first. Some email providers delay delivery by a few minutes. If it still hasn't arrived, try signing up again with the same email — Vaani will resend the verification. If the problem persists, reach out to support.
Make sure you've verified your email first — you can't log in until the verification link is clicked. If you've verified and still can't log in, try resetting your password from the login page.
That's completely normal! Your dashboard populates as you set things up. Your next step is to create an agent — head to the Agent Config section or follow the link below.
Your login credentials control access to your entire workspace — agents, API keys, and call data. Keep them secure. The API keys you'll create later are the most sensitive piece, since they grant programmatic access to your account.
**Video walkthrough coming soon.** Follow the steps above — they cover everything the video will.
## Next Step
Configure your first voice agent, write a prompt, and get your `agent_id`
Your dashboard will be empty right now — that's expected. You'll start seeing data after you create an agent and make your first call.
If you're working with a team, you can invite members to your workspace later from **Settings**. All team members share the same agents and call data.
## Troubleshooting
Check your spam or junk folder first. Some email providers delay delivery by a few minutes. If it still hasn't arrived, try signing up again with the same email — Vaani will resend the verification. If the problem persists, reach out to support.
Make sure you've verified your email first — you can't log in until the verification link is clicked. If you've verified and still can't log in, try resetting your password from the login page.
That's completely normal! Your dashboard populates as you set things up. Your next step is to create an agent — head to the Agent Config section or follow the link below.
Your login credentials control access to your entire workspace — agents, API keys, and call data. Keep them secure. The API keys you'll create later are the most sensitive piece, since they grant programmatic access to your account.
**Video walkthrough coming soon.** Follow the steps above — they cover everything the video will.
## Next Step
Configure your first voice agent, write a prompt, and get your `agent_id`