Before you start: You need a Vaani account with a configured agent and telephony set up. If you haven’t completed these steps yet:
Create an API Key
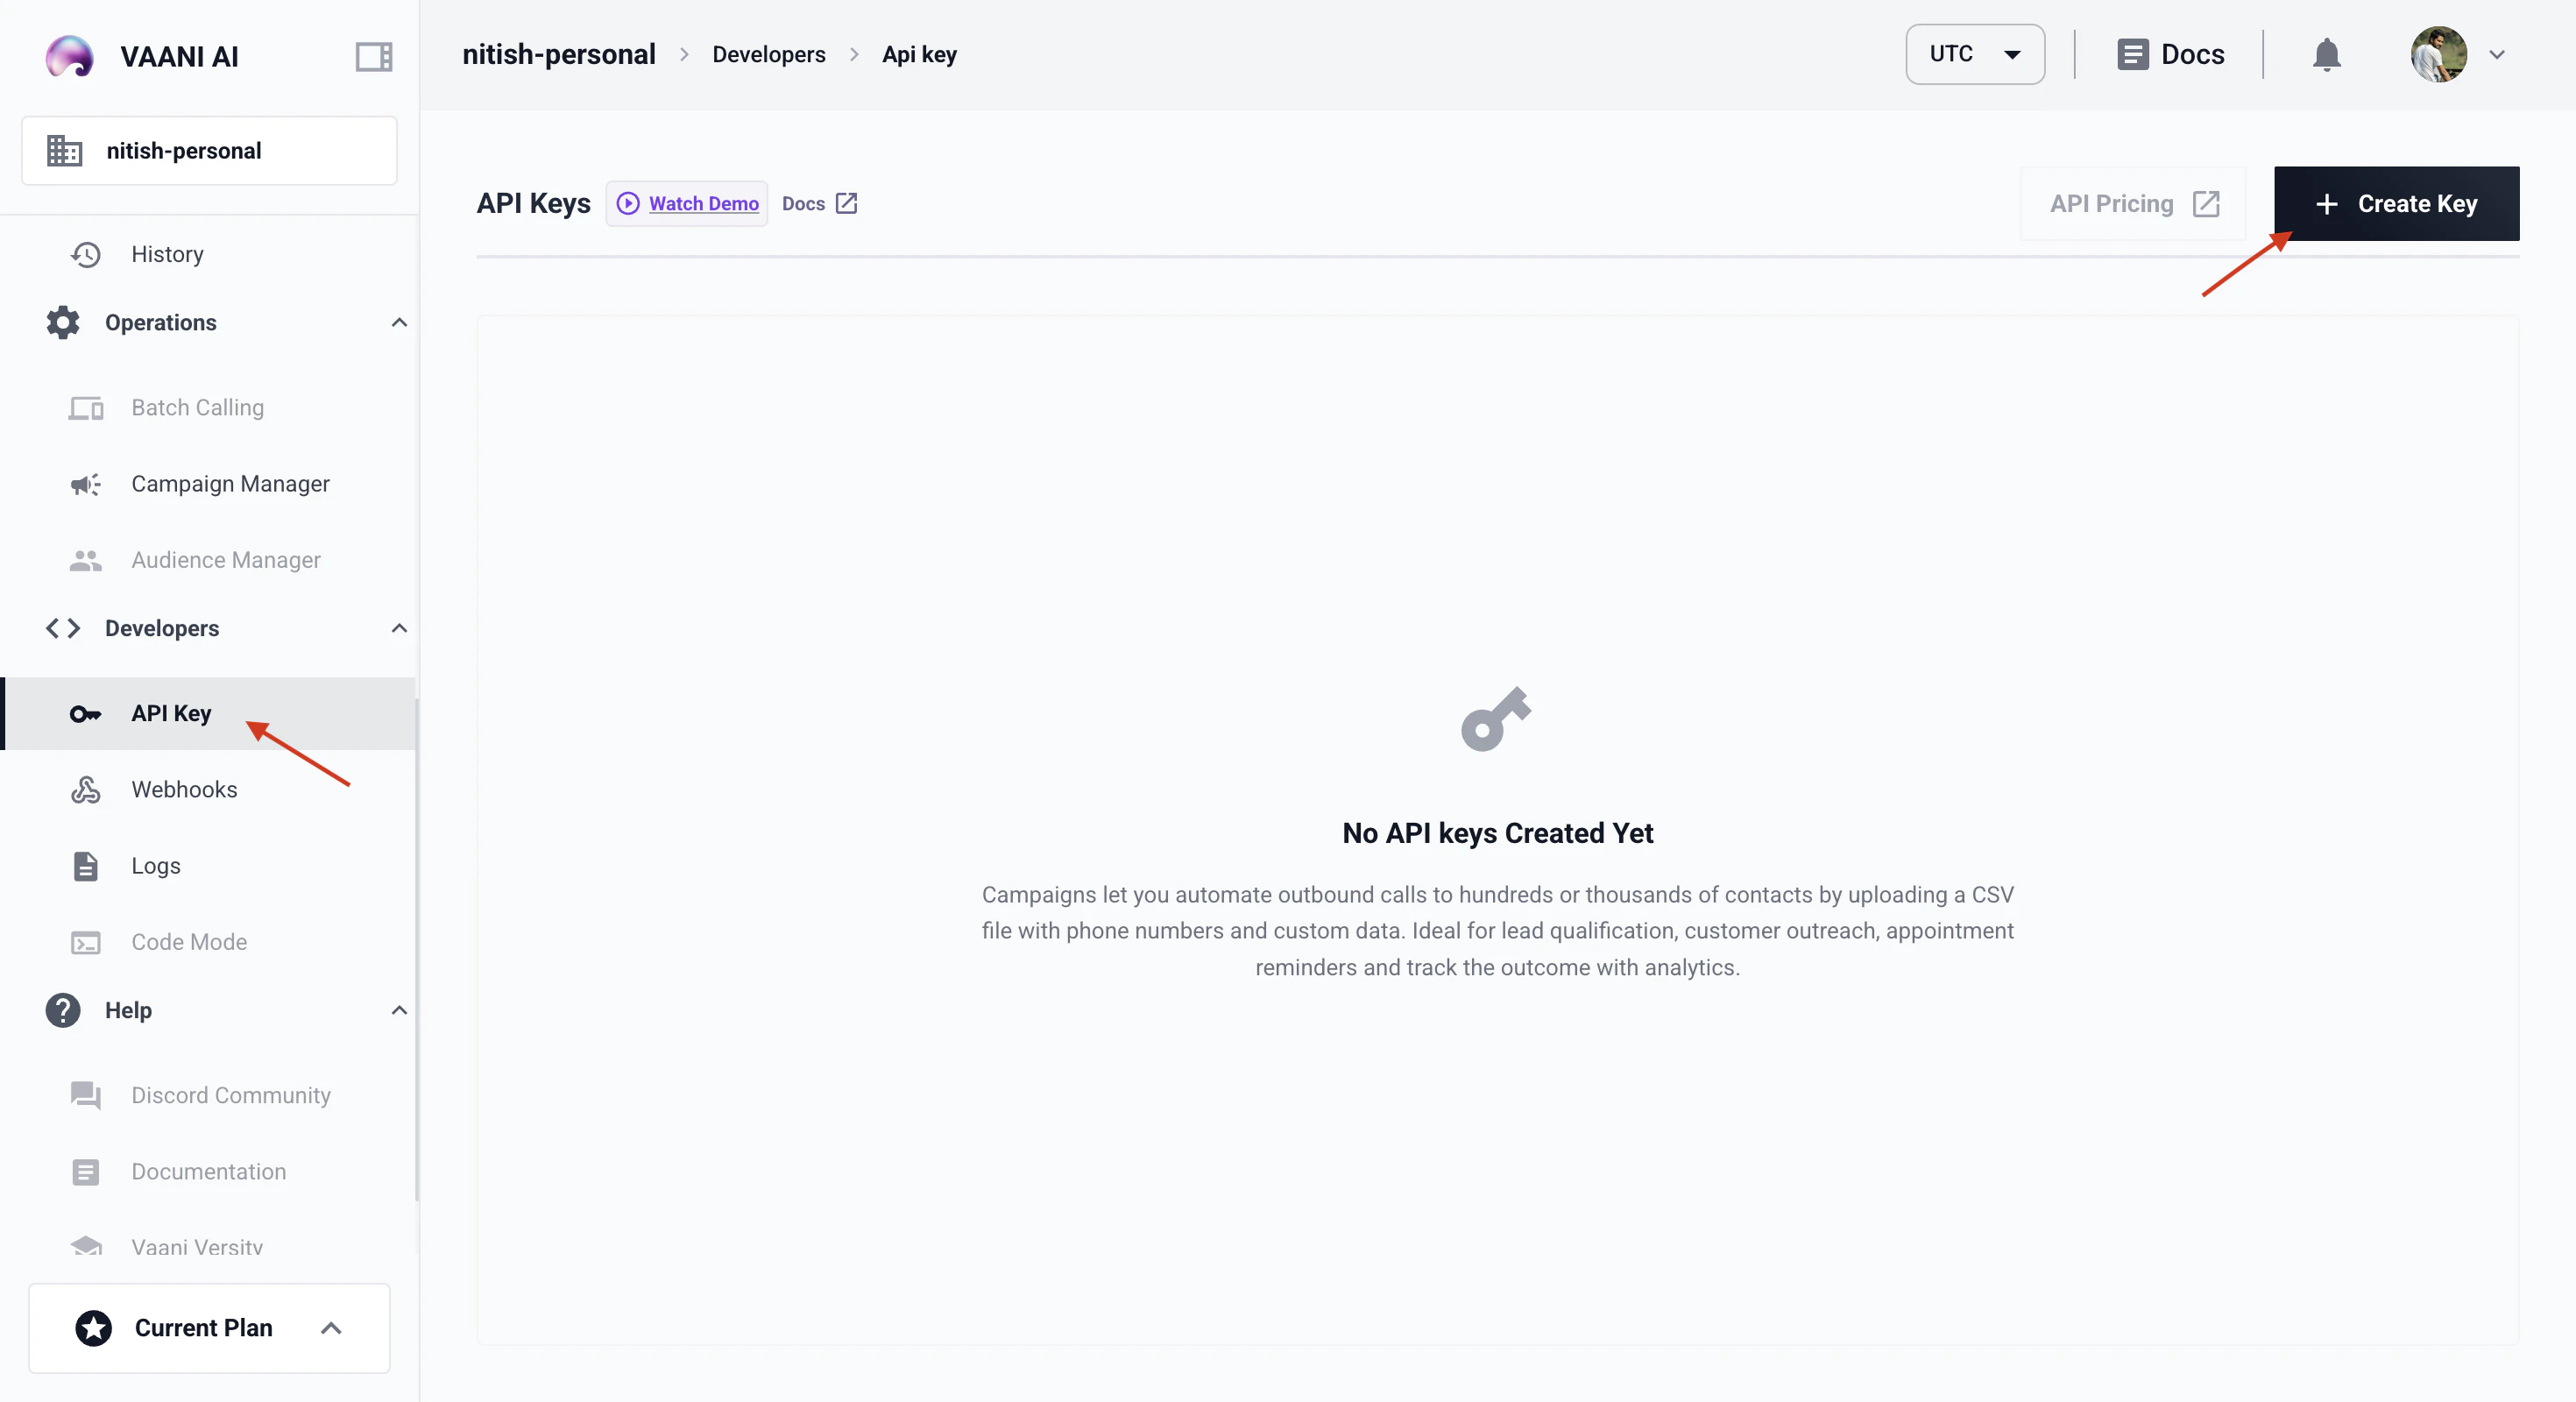
Generate a New Key
Click Generate API Key. Give it a descriptive name that tells you what it’s for — e.g.
production, staging, local-dev, or campaign-automation.Using Your API Key
Include your API key as a header in every request to the Vaani API:Your API key is workspace-scoped — it grants access to all agents, call data, and settings within your workspace. There’s no per-agent key scoping.
Storing Your Key Securely
Never hardcode your API key in source code. Here’s how to handle it in different environments: Local development — use a.env file:
python-dotenv:
Managing Multiple Keys
As your usage grows, you’ll want multiple API keys:- Separate keys per environment —
dev,staging,production. If a dev key leaks, your production traffic isn’t affected. - Separate keys per integration — if you have multiple systems calling the API, give each its own key so you can revoke one without disrupting others.
- Separate keys per team member — useful for tracking who’s making which calls during development.
- Generate a new key
- Update your application to use the new key
- Verify everything works
- Delete the old key
Troubleshooting
I get a 401 Unauthorized error
I get a 401 Unauthorized error
I lost my API key
I lost my API key
API keys can’t be recovered after creation. Generate a new key from Settings → API Keys, update your application with the new key, and optionally delete the old one (if you’re not sure which key it was, you can delete all keys and start fresh).
Can I restrict a key to specific agents?
Can I restrict a key to specific agents?
Not currently. API keys are workspace-scoped and grant access to all agents and data in the workspace. If you need full isolation between different sets of agents, use separate workspaces.
Next Step
Trigger Your First Call
Use your agent_id and API key to make your first outbound call